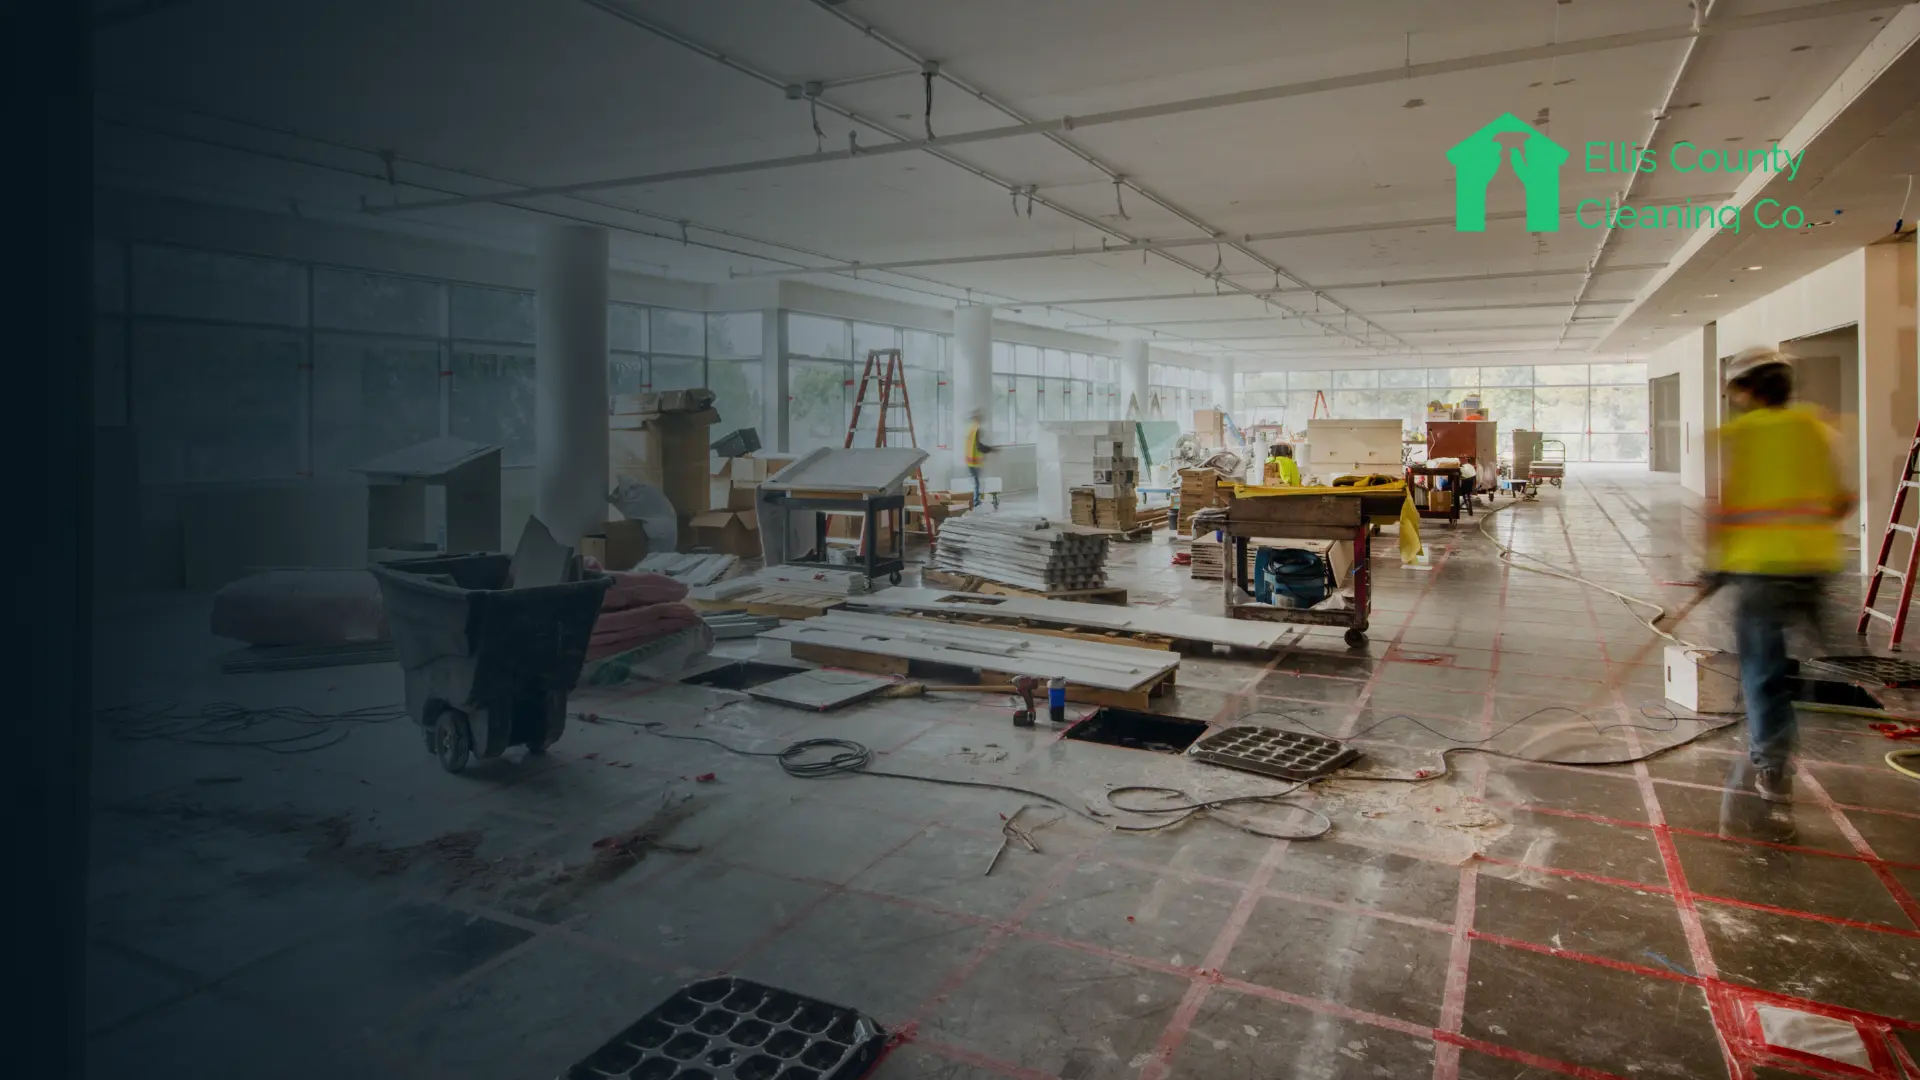
Post-construction cleaning happens in three phases: rough clean, detail clean, and final clean. Skip the order and you clean the same surfaces twice.
This checklist covers new construction homes, renovations, and commercial spaces. It walks through every phase, room by room, plus the equipment you need and the spots most cleanups miss.
Let’s start with the big picture.
The 3 Phases at a Glance
Each phase has a different job, timing, and level of detail.
| Phase | When It Happens | Focus | Goal |
| Rough Clean | After framing, drywall, and major trades | Bulk debris, heavy dust | Clear the site for finish work |
| Detail Clean | After all trades finish | Every surface, fixture, and room | Move-in condition |
| Final Clean | 24-48 hours later, before inspection or move-in | Settled dust, touch-ups, polish | Inspection-ready finish |
Never start the detail clean while trades are still working. One electrician cutting a hole undoes a full day of dusting.
Work top-down and inside-out in every phase. Ceilings before walls, walls before floors, back rooms before entry points.
Equipment and Supplies You’ll Need
The right equipment decides whether dust gets removed or just moved around.
| Equipment or Supply | What It’s For | Why It Matters |
| HEPA vacuum | Fine dust on floors, vents, ledges | Standard vacuums blow fine dust back into the air |
| Shop vacuum | Bulk debris, sawdust, screws | Handles what a HEPA vacuum shouldn’t |
| Microfiber cloths | Dusting and wiping all surfaces | Traps dust instead of smearing it |
| Extension duster | Ceilings, fans, high ledges | Reaches most rooms without a ladder |
| Razor scraper | Paint and labels on standard glass | Removes residue cleaners can’t |
| Plastic scraper | Residue on tile, counters, fixtures | Safe where a razor would scratch |
| Adhesive remover | Tape, stickers, film glue | Cuts residue without heavy scrubbing |
| pH-neutral floor cleaner | Hardwood, LVP, sealed stone | Harsh cleaners damage new finishes |
| Grout haze remover | Cloudy film on new tile | Water alone won’t lift it |
| Glass cleaner and squeegee | Windows, mirrors, shower glass | Streak-free finish |
| Contractor trash bags | Debris removal | Standard bags tear on sharp scraps |
| N95 mask, gloves, eye protection | Personal safety | Construction dust isn’t ordinary dust |
Use razor scrapers carefully. Tempered and coated glass can scratch, so test a corner first, keep the glass wet, and check the window manufacturer’s guidance before scraping.
Grout haze removers have limits too. Many are acid-based and can etch marble, limestone, and travertine. Use a stone-safe remover on natural stone.
Safety Before You Start
Construction dust needs more care than household dust.
Concrete, tile, stone, and mortar dust can contain crystalline silica. Dry sweeping kicks fine particles into the air, where they get inhaled. Use HEPA vacuums or wet methods instead of dry sweeping. The OSHA silica guidance explains why these particles are a respiratory hazard on construction sites.
Wear an N95 mask, gloves, and eye protection during rough and detailed cleaning. Ventilate rooms as you work. Never mix bleach with ammonia-based cleaners.
Phase 1: Rough Clean Checklist
The rough clean clears bulk mess so finish work and detailed cleaning can happen.
- Remove large debris: drywall scraps, wood offcuts, packaging, cardboard
- Pick up nails, screws, and metal fragments (a magnetic sweeper speeds this up)
- Remove leftover materials the contractor doesn’t need returned
- Shop-vacuum sawdust and loose debris from floors
- Clear dust and debris from window sills and ledges
- Clear debris from inside cabinets and closets
- Remove debris from garage, driveway, and walkways
- Haul all trash off site
This phase is about volume, not detail. Expect to come back to every surface later.
Phase 2: Detail Clean Checklist (Room by Room)
The detail clean turns a finished build into a livable space, one room at a time.
Every Room
- Dust ceilings, corners, and high ledges
- Clean ceiling fan blades and housings
- Wipe walls to remove dust and scuffs
- Clean doors, frames, and hardware
- Clean light fixtures
- Clean window glass, frames, and sills
- Vacuum and wipe supply vents
- Wipe baseboards and trim
- Remove stickers, labels, and protective films
- HEPA vacuum floors, then clean per floor type
Walls need their own method. Our guide on how to remove construction dust from walls covers techniques by paint finish.
Kitchen
- Remove protective film from appliances and counters
- Clean appliance exteriors and interiors (oven, fridge, dishwasher, microwave)
- Wipe cabinet exteriors, interiors, and shelves
- Vacuum and wipe inside drawers
- Clean countertops and backsplash, removing caulk and grout residue
- Clean and polish sink and faucet
- Clean range hood and filter
- Wipe inside the pantry
Bathrooms
- Remove grout haze from tile floors and walls
- Scrub and sanitize toilets
- Clean tub, shower, and shower glass
- Remove caulk smears and labels from fixtures
- Clean and polish sink, faucet, and mirror
- Wipe vanity inside and out
- Clean exhaust fan cover
- Polish chrome and towel bars
Bedrooms and Living Areas
- Vacuum and wipe closet shelves, rods, and floors
- Clean closet doors
- Wipe built-ins and shelving
- Clean fireplace surround and hearth
- HEPA vacuum carpets twice (once along the grain, once across)
- Clean blinds or window treatments if installed
Garage, Utility, and Laundry
- Sweep and remove debris from the garage floor
- Wipe utility sink, water heater exterior, and electrical panel cover
- Clean washer and dryer exteriors
- Wipe laundry cabinets and shelves
Exterior
- Remove packaging, tape, and plastic from the property
- Clean exterior window glass and frames
- Sweep porches, patios, and walkways
- Remove paint drips and mortar splatter from concrete
- Clean exterior light fixtures and door hardware
- Pressure wash driveway and walkways if needed
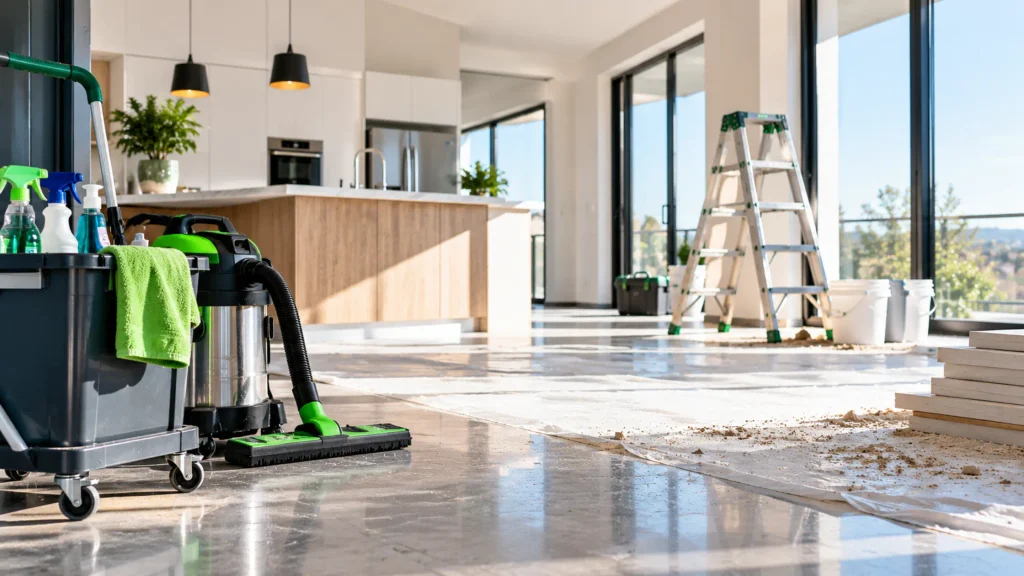
Phase 3: Final Clean and Walkthrough
The final clean catches dust that settled after the detail clean.
Fine dust stays airborne for hours and lands on surfaces you already cleaned. Schedule the final pass 24-48 hours after the detail is clean.
Final Clean Tasks
- Dust all horizontal surfaces again (ledges, sills, shelves)
- Wipe high-touch surfaces: handles, switches, railings
- Final HEPA vacuum of floors and vents
- Final mop of hard floors
- Polish mirrors, glass, and stainless steel
- Replace HVAC filters
Spots Most Cleanups Miss
These spots get skipped because they sit above or below eye level. Check every room at three heights: eye level, overhead, and floor level.
- Tops of doors and door frames
- Inside light fixture covers
- Window and sliding door tracks
- Outlet and switch plates
- HVAC return grilles
- Behind and under toilets
- Drawer tracks
- Dishwasher filter and oven drawer
- Tops of upper cabinets and the refrigerator
- Underside of countertop overhangs
- Dryer vent opening
Walkthrough and Sign-Off
Walk the space with the contractor or owner and mark each room complete. Paint touch-ups and damage belong to the contractor, not the cleaning crew.
Photograph every room after the final clean. Photos document conditions at handover and settle disputes quickly. Our guide on post-construction cleaning responsibility breaks down owner vs. contractor obligations.
Commercial Post-Construction Checklist Additions
Commercial spaces need everything above, plus tasks residential projects don’t have.
- Clean drop ceiling tiles and grid (or replace stained tiles)
- Wipe restroom partitions, hand dryers, and dispensers
- Clean ADA hardware, grab bars, and signage
- Remove film and residue from storefront glass
- Clean break rooms, kitchenettes, and appliances
- Wipe cubicle panels, reception desks, and workstations
- Clean elevator interiors and door tracks
- Sweep and degrease loading docks and back-of-house areas
- Machine-scrub large hard floor areas
- Prepare for occupancy inspection walkthrough
Commercial jobs often run after hours and floor by floor, so crew size and timelines scale up. Our construction cleaning pricing guide breaks down commercial vs. residential costs.
Renovation vs. New Construction: What Changes
Renovations need a different approach because people and belongings are already there.
| Factor | New Construction | Renovation |
| Dust volume | Higher overall | Lower, but spreads into untouched rooms |
| Furniture and belongings | None | Present, often covered or moved |
| Rooms to clean | Entire build | Work area plus adjacent rooms |
| Soft surfaces | None | Curtains, rugs, upholstery need attention |
| HVAC concern | Filters before first use | Dust circulated through existing system |
For renovations, add these tasks:
- Clean rooms outside the work zone
- Vacuum or wash curtains, rugs, and upholstered furniture
- Wipe belongings stored near the work area
- Remove containment plastic slowly to avoid releasing trapped dust
The HVAC system deserves extra attention. During a renovation it pulls dust through the whole house. The EPA’s indoor air quality guidance points to ventilation and source control as core ways to reduce indoor pollutants, and a fresh filter after the project is the simplest source control step.
Example Breakdown: 2,400 Sq Ft New Construction Home
Here’s how the three phases typically play out on a mid-size new build.
The setup: single-family new build, heavy drywall dust, tile in three bathrooms, 18 windows, and final inspection in four days.
- Rough clean: 2 people, 3 hours. Debris haul-out, shop vacuum, magnetic sweep.
- Detail clean: 3 people, 4 hours. Room-by-room checklist, grout haze, appliance film, all windows.
- Final clean: 2 people, 2 hours, two days later. Settled dust, HVAC filter swap, polish, walkthrough.
Total time comes to 22 labor hours across three visits. The detail clean alone accounts for 12, about the same as a single-visit clean. The rough and final passes add the other 10.
On builds like this, the final pass usually finds a dust film on window sills and cabinet tops. Those are the surfaces people see first during a walkthrough.
As a planning guide, a thorough detail clean covers about 150-200 sq ft per labor hour. Heavy dust, lots of tile, or lots of glass slows that pace. For full timelines, see how long post-construction cleaning takes.
Frequently Asked Questions
What are the 3 phases of post-construction cleaning?
Rough clean removes bulk debris after major trades. Detail clean covers every surface and room once all work is finished. Final clean removes settled dust and handles touch-ups before inspection or move-in.
What should a new construction cleaning checklist include?
Debris removal, room-by-room dusting from ceilings to floors, appliance and cabinet cleaning, grout haze and residue removal, window cleaning, exterior cleanup, and a final pass 24-48 hours later for settled dust.
What does post-construction cleaning include?
Debris removal, dust elimination from every surface and vent, window cleaning, residue removal, kitchen and bathroom detailing, floor cleaning, and final touch-ups. Full scope details are in what construction cleaning includes.
Is a post-renovation cleaning checklist different?
Yes. Renovations require cleaning rooms outside the work area, soft furnishings, and stored belongings, because dust spreads through occupied spaces and existing HVAC systems.
How soon after construction should cleaning happen?
Start the detail clean only after all trades finish. Schedule the final clean 24-48 hours later so airborne dust has time to settle.
Should I DIY or hire professionals?
Small renovations can be handled DIY with the right equipment. Full new builds and commercial spaces usually need a trained crew to meet inspection deadlines. Our guide on hiring a post-construction cleaning company covers what to check before you book.
The Bottom Line
Follow the phases in order. Work top-down in every room. Come back for a final pass after the dust settles.
That sequence separates a clean that looks finished from one that stays finished. If you’d rather hand the whole checklist to a trained crew, professional construction cleaning services cover all three phases through final walkthrough.